Getting Started
Vynca Advance Care Planning is a suite of tools to help you document and access your patient's advance care documents.
Records Across Care Continuum
Your health care organization is part of the Vynca network and therefore have access to all of your patient's advance care document located at other health care organizations who are also part of the Vynca network.
Accessing the Vynca Portal
Depending on your site, there are multiple ways of accessing the Vynca Portal. Vynca is typically integrated with your health system's EMR system and allows you to use the same credentials to sign on.
For Epic and Cerner users, you can find a link labeled ePOLST either on the patient header on top or on the left tab. Clicking the link will take you directly to the Vynca ACP Portal for your patient without any additional steps.
For Point Click Care users, you will find a link labeled ePOLST on the top banner bar. Clicking on that link will either automatically log you in to Vynca ACP, or redirect you to your facilities Login page. After logging in with the same credentials you use at your facility, you will be redirected into the Vynca ACP Portal for your patient.
Roles and Privileges
Depending on your role, you are granted one or more of the following privileges:
ViewerPreparerSignerUploader
Here is the breakdown of actions allowed by role:
| Viewer | Preparer | Signer | Uploader | |
|---|---|---|---|---|
| View current, prior POLST and related docs | x | x | x | |
| Create new POLSTs but not complete it | x | x | ||
| Sign, Void and Submit POLSTs to Registry | x | |||
| Upload and delete POLST and related docs | x |
Viewer
As a viewer, you only have access to view both the current POLST, removed POLST, and other related documents. You do not have permission to create new POLST, void POLST, remove POLST nor upload POLST.
Viewers are usually granted to Emergency Medical Service staff.
Preparer
As a preparer, you have the ability to create and resume POLST. However, you do not have the ability to complete the POLST form. The form will need to be passed to a user with signing privileges to complete.
Preparers are typically social workers and nursing staff.
Signer
As a signer, you have the ability to create, resume POLST and complete POLST.
You will also have the ability to void POLST according to your patient's wishes.
Signers are typically physicians and nurse practitioners.
Uploader
As an uploader, you have the ability to upload scanned POLST and other related documents. You also have the ability to delete incorrectly uploaded documents, but not have the ability to void documents due to changes in patient's wishes.
Uploaders are typically HIMS or front-office staff.
Terminology
Vynca uses terminology throughout the ACP Portal that might be slightly different then the terminology used at your health care setting.
For documents, they can have one of the following status:
- Current
- Prior
- Void
- Removed
Current Documents
Current documents are documents that are actionable where the contents are still assumed to be valid.
Prior Documents
Prior documents are documents that have been superseded by a current document, thereby rendering this document as invalid as the content of the document are not valid anymore.
Void Documents
Void documents are documents where the patient has decided that the content of the document are not valid anymore. This document may or may not be superseded by an current document.
Removed Documents
Removed documents are the result of the document being uploaded to the wrong patient. Removed documents are shown as a placeholder for historical reference, however cannot be viewed.
Linking Mobile Device
Vynca ACP supports the use of a mobile device to augment your experience with the ACP portal. By linking your smartphone with Vynca ACP, you will gain the ability to digitally sign documents using your phone as a signature pad, play videos on your mobile phone, and scan documents that will be uploaded to the Vynca ACP portal.
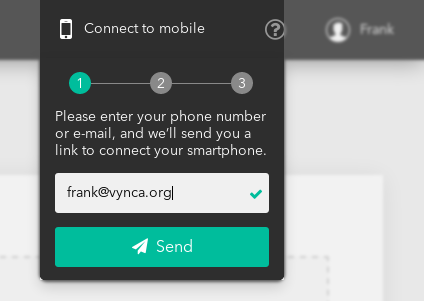
There are two methods to link your mobile device to the Vynca portal. One method is through a text message and the other is with a email.
Text Message
Linking via text message is the preferable way. On your mobile phone, open the URL contained in the text message. Once the URL has been open, the link cannot be used again.
An email will be sent to your inbox containing a link to the mobile session. This link should only be clicked on your mobile device browser and not on your desktop. Once the link has been clicked, the link cannot be used again.
A mobile website containing a 6 digit code will be displayed on your mobile phone.
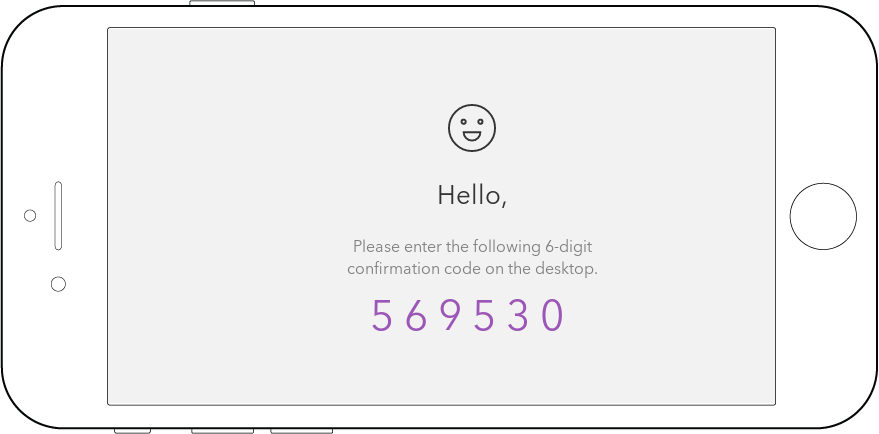
Back on the desktop, enter the 6 digit code to complete the link.
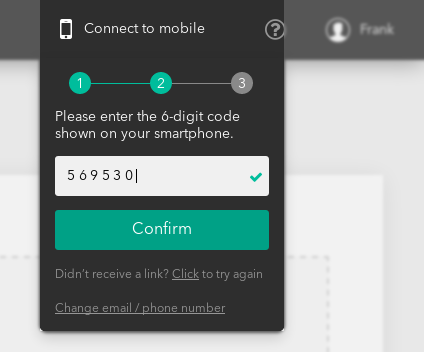
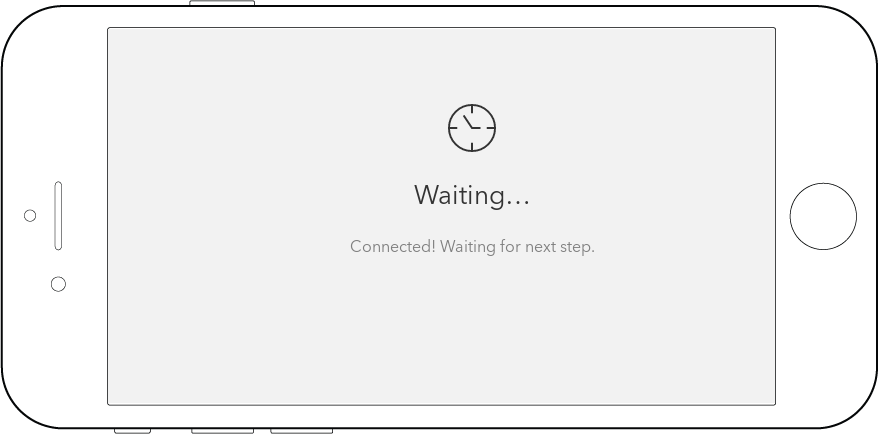
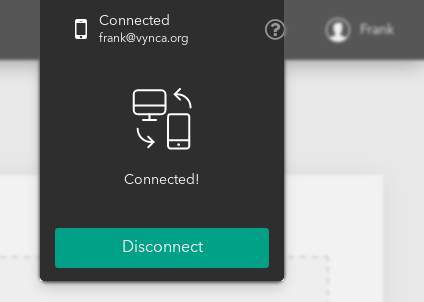
The desktop should now show that the mobile link is connected.
On the mobile device, you will see the associated plugin for the page displayed.